Step by Step Oracle 12c database installation Guide
– An installation guidance with every screenshot of Oracle 12c database on Windows Platform
 Presently Oracle 12c database Release 1 is available for 64bit Windows only. It is also available for Linux and Solaris (64bit) sparc and X86 platforms. In this article, we can see how to install the Oracle 12c database on the Windows platform.
First, you should need to download the Oracle 12c database source from the official site and unzip it at the local drive of the computer. Installation task is very easy on Windows but remember this time Oracle changed installation style and feature. There are lots of options added to this installation process.
Mainly there are 21 options available for installing the Oracle 12c Enterprise Edition database. Those are the following.
- Configure Security Updates
Software Update
Installation Option
System Class
Grid Installation Options
Install Type
Product Languages
Database Edition
Oracle Home User Selection
Installation Location
Configuration Type
Database Identifiers
Configuration Options
Database Storage
Management Options
Recovery Options
Schema Passwords
Prerequisite Checks
Summary
Install Product
Finish
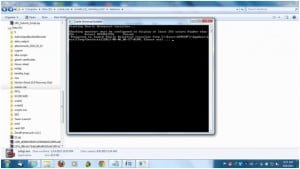 Go to unzipped folder of Oracle 12c source and execute setup.exe. This task will open the following the installation window for operating system prerequisite checking.
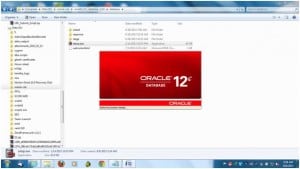 After finishing operating system dependency, it will be starting the installation process with Oracle GUI installer. At the first stage of installation, it gathers all system information. For more detail see the screenshot.
Configure Security Updates:
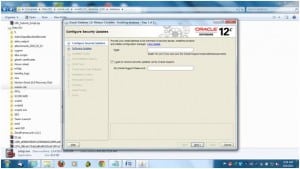 Now the first option is available to provide detail called “Configure Security Updates”. In this option, the installer asks email id for configuring Oracle Configuration Assistance with Oracle Metalink support. If you don’t have a support identifier number and want to skip this option then select the “next” button.
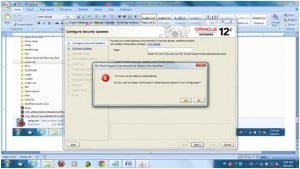 After clicking the “Next” button and don’t provide any information in the above step, the Oracle installer will give you an error message as a screenshot. You need to ignore this error message. Just click on the “Yes” button and go to the next option.
Software Update:
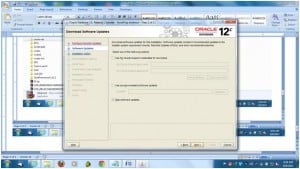 The next option is the “Software Update” stage. In this option, again Oracle asks about Oracle patch update and this is also part of Oracle Configuration Assistant for linking account with Oracle support portal. If you don’t want to provide any detail or you don’t have Oracle support then select the “Skip” option button and go ahead as per screenshot.
Installation Option:
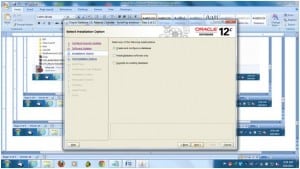 In this stage, Oracle would ask you about New database creation and upgrade the existing database. If you want to install only software then you can select the same option. But in this step by step installation guidance, we selected the “Create and Configure New Database” option and click on the next button.
System Class:
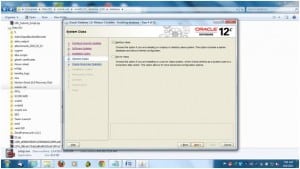 In this stage, the installer will ask about which type of installation is being performed like do you want to install a database server or laptop edition. You will get 2 options here as a given screenshot. First is “Desktop Class” where Oracle installs with a starter database with minimum features because in laptop or home pc doesn’t have too many resources. The second option is “Server Class” and in this option, Oracle would install all advance features.
Grid Installation Options:
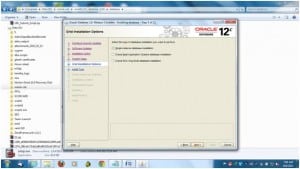 This is a new feature in the Oracle 12c installation process. In previous versions, If you have installed clustering then and only Oracle enables this option because it would ask about single instance installation (default) or Oracle Real Application Cluster installation with multiple instances as per given screenshot. I selected “Single Instance Database Installation”.
Install Type:
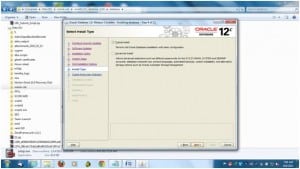 This is the same feature available in the previous version of Oracle. In this stage, you can choose Typical installation or Advanced installation. In a typical installation feature, it will install all features with a pre-configured database without any customization. In the advanced installation stage, you can choose every configuration stage and customize it. For more information, check the screenshot of the same.
Product Languages:
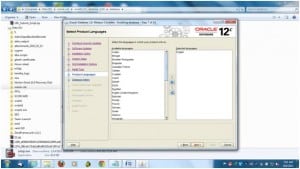 This stage is likely to operating system installation which was not available in the previous version of Oracle. In this stage, we can select language. In this demo guidance, I selected English(United Kingdom). During this language selection, you can select multiple languages too as per screenshot.
Database Edition:
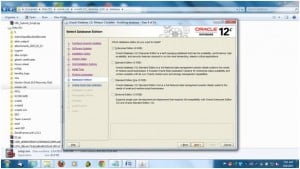 This stage of installation was available at the previous Oracle version. For Oracle DBA, this stage is most important because it is directly connecting with your Oracle license. You can choose Enterprise, Standard, Standard One, Personal database edition for installing. The concept is the same as previous Oracle versions. For more detail check screenshot.
Oracle Home User Selection:
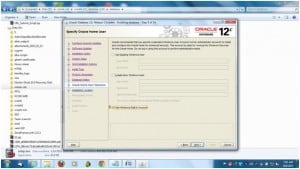 In this installation stage, you need to specify the Windows user. You have 3 options available for selecting. First is “Use existing Windows User”. You need to provide existing user detail including password. The second option is “Create new Windows User”. You should need to give a new username and password. The third option is “Use Windows Built-in Account”. In this option, Oracle will use existing and logged in the user account for installing Oracle software and provide ownership of the software to the same user. In this demo, I selected 3rd option as per the screenshot.
Installation Location:
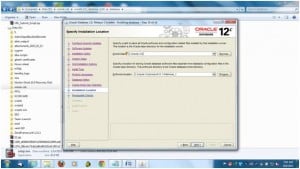 Specify Oracle Base directory location for creating Oracle configuration files, inventory, etc files and also provide Oracle home directory location for installing Oracle software files. This option doesn’t new because it is also available in previous versions.
Configuration Type:
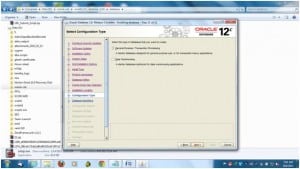 This option only available if “new database creation” with “advanced installation”. You need to specify database configuration type like General, OLTP, Online Transaction Processing, data warehousing purpose.
Database Identifiers:
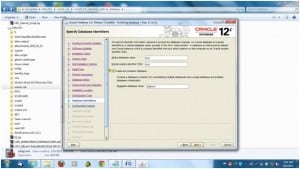 This option is very easy to manage. You could provide a new database name with a global name in this stage. Oracle 12c database has a new feature called a Pluggable database. If you want to create a new pluggable database for learning purpose then you can provide the name of the pluggable database in this stage. Means Oracle will create 2 databases. One is the container (main) database and one is a pluggable database.
Configuration Options:
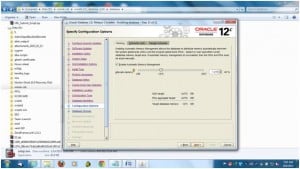 This option is having more sub configurations. This is part of a new database parameter setting, NLS setting, Memory setting. If you want sample schema then you can configure in this stage. This stage is like DBCA (database configuration Assistant). For more detail check screenshot.
Database Storage:
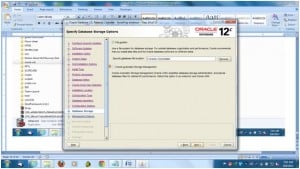 In this stage, you need to select the location of the new database creation. In short, you need to specify one location for all data files, control files, redo log files. In this option, you can select ASM storage too. For more detail check screenshot of this stage.
Management Options:
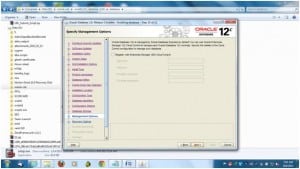 In this stage of installation, you need to provide detail of Enterprise Manager Cloud Control. If you want to configure this installation with Oracle Enterprise Manager Cloud control option then you need to provide OMS Host and Port with Enterprise Manager login credentials. If you don’t want to configure Enterprise Manager cloud control then you can skip this option and click on the Next button.
Recovery Options:
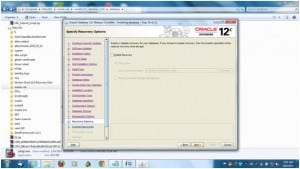 This option enables flashback recovery with archive logs. If you don’t want to enable this option at installation time then you can skip this stage. See the screenshot of the same. Because you can enable the same option later on. Just click on the Next button.
Schema Passwords:
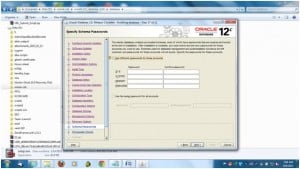 During this stage, you can provide a different password for SYS, SYSTEM, DBSNMP, and PDBADMIN users. PDBADMIN is a new user in Oracle 12c for administrating a pluggable database. You can also provide a single password for all default schema. For more detail check screenshot. This is a mandatory stage. You need to choose one option and provide password detail.
Prerequisite Checks:
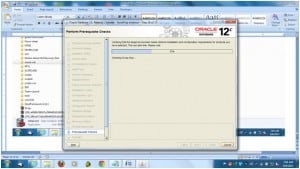 After providing all of the above details, the Oracle installer would check every configuration including disk space, storage, memory, swap size. If anything found wrong then you would get an error message during this stage. You don’t need to do anything if no error throwing.
Summary:
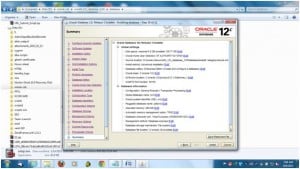 After finishing prerequisite checks, Oracle will show you the summary page of all the above configuration and selection of options for installing. In this section, you can rectify any of misconfiguration or wrong selection and correct it.
Install Product:
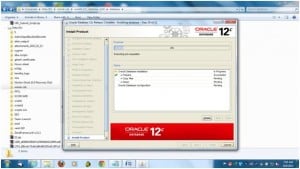 During the Summary stage, if you choose the button of “Install” then Oracle starts the installation process and in the Install product phase, you can get process updating status as per screenshot.
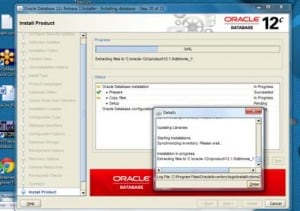 During install product stage, you have the option to check “Detail” of installation progress. As per the attached screenshot, you would get the result of detail of installation progress.
Finally, Oracle installation will be finishing with new database creation including a pluggable database.
When you want to make a strong Oracle DBA career then you should be aware of database services and other database technology. Without having knowledge of Oracle internals, Oracle performance tuning, and skill of Oracle database troubleshooting you can’t be an Oracle DBA expert.
This expert DBA Team club blog always provides you latest technology news and database news to keep yourself up to date. You should need to be aware of Cloud database technology like DBaaS. All Oracle DBA tips are available in a single unique resource at our orageek. Meanwhile, we are also providing some sql tutorials for Oracle DBA. This is the part of Dbametrix Group and you would enjoy more advanced topics from our partner resource.


